Fusing glass involves joining sheet glasses in a kiln. In this process, compatible sheet glasses are joined at an approximate temperature of 1490 degrees Fahrenheit. Fusing glass opens up several possibilities for artists to create artworks with form and color. You can learn how glass behaves when it comes in contact with heat. The process teaches you how to cut and fuse the material safely into a single piece.
It gives you the power to make colorful, dynamic, and unique works of glass art. Unlike many of the other glass forms, this process gives you sufficient time to bring your designs to life. This is because you’d be working with the glass when it’s cold.
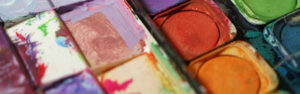
The art of fusing glass
You can fabricate tiles, jewelry, plates, bowls, wall hangings and other objects by fusing glass. For making a finished fused piece of glass, you’ll need a kiln and a few simple tools. To make glass vessels and other objects that you can’t create easily in a kiln, use glass blowing. You’ll need a large furnace and other equipment to melt the glass and complete the process.
Three-dimensional sculptures can be created with glass casting using a mold. These objects are fired in a kiln before cold-working with the right equipment for grinding and polishing. You need to use a torch for creating a finished glass piece in glass flame-working. However, the size in this case is limited to small objects.
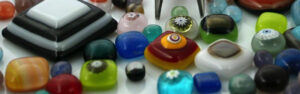
The process of fusing glass
Once you have a studio and the right equipment, you’ll have endless possibilities. You’ll be able to create any functional object or art with fused glass. Either you can fuse it flat or add texture and other things. Glass fusing is also the first step towards creating slumped artworks of glass. Here are a few steps in glass fusing that you need to know:
1. Readying your workspace
Gather the tools and materials that you require for cutting glass. Using a kiln wash, prepare your kiln shelf. You can also use a firing paper to line the shelf.
2. Preparing the glass
Cut your glass into the shapes that you want. You can also grind down the edges for creating cleaner lines. The glass must be clean without any fingerprints or smudges. If there’s dirt or any other substance on the glass, it can leave a mark on the piece.
3. Assembling the glass
You must ensure that the piece is not too close to the edge of the shelf or adjacent projects. Tack the pieces together with glue if you’re assembling the glass into a complicated design. Make sure you don’t apply too much so that it doesn’t leave any residue after firing.
4. Firing your piece
Maintaining the right temperature and firing schedule in the kiln, fire your piece. Don’t forget to check whether the glass is completely cool before removing the piece from the kiln.
Glass slumping as an option
If you need to slump your fused glass, check the edges. See whether there are rough or sharp points. If there are any sharp edges, they’ll need some grinding. In case the piece needs slumping, place it on the mold carefully and fire it to slumping temperature. If the piece doesn’t require slumping, it means that it’s ready for use.